TYPO3 Installation
Diese Anleitung beschreibt die Installation des TYPO3 CMS mit Hilfe des Composers, einem PHP-Executable zur Verwaltung von PHP-Abhängigkeiten.
Composer steht global zur Verfügung, muss also nicht explizit von Ihnen installiert werden.
Die TYPO3 Installation mittels Composer stellt die empfohlene Installationsvariante dar.
TYPO3 Installation via. Composer
Rufen Sie den Composer innerhalb des ~/htdocs Verzeichnisses wie folgt auf. Dabei geben Sie den Namen Ihre TYPO3 Projektordners an, im Besipiel mytypo3
CODE-bash-4.2$ composer create-project typo3/cms-base-distribution mytypo3 Installing typo3/cms-base-distribution (v9.4.0) - Installing typo3/cms-base-distribution (v9.4.0): Downloading (100%) Created project in mytypo3 Loading composer repositories with package information Updating dependencies (including require-dev) Package operations: 72 installs, 0 updates, 0 removals - Installing typo3/cms-composer-installers (v2.2.0): Downloading (100%) - Installing typo3/class-alias-loader (1.0.0): Downloading (100%) - Installing helhum/typo3-console-plugin (2.0.4): Downloading (100%) - Installing typo3fluid/fluid (2.5.4): Downloading (100%) - Installing typo3/phar-stream-wrapper (v1.0.1): Downloading (100%) - Installing helhum/config-loader (v0.9.0): Downloading (100%) ... ... ... - Installing typo3/cms-setup (v9.4.0): Downloading (100%) - Installing typo3/cms-seo (v9.4.0): Downloading (100%) - Installing typo3/cms-sys-note (v9.4.0): Downloading (100%) - Installing typo3/cms-t3editor (v9.4.0): Downloading (100%) - Installing typo3/cms-tstemplate (v9.4.0): Downloading (100%) - Installing typo3/cms-viewpage (v9.4.0): Downloading (100%) helhum/config-loader suggests installing ext-yaml (For improved performance when parsing yaml files you should use the PECL YAML Parser php extension) symfony/console suggests installing psr/log-implementation (For using the console logger) symfony/console suggests installing symfony/event-dispatcher symfony/console suggests installing symfony/lock doctrine/cache suggests installing alcaeus/mongo-php-adapter (Required to use legacy MongoDB driver) symfony/routing suggests installing symfony/config (For using the all-in-one router or any loader) symfony/routing suggests installing symfony/dependency-injection (For loading routes from a service) symfony/routing suggests installing symfony/http-foundation (For using a Symfony Request object) Writing lock file Generating autoload files Generating class alias map file Inserting class alias loader into main autoload.php file > typo3cms install:fixfolderstructure The following directory structure has been fixed: Directory /typo3temp successfully created. Fixed permission on /typo3temp. File /typo3temp/index.html successfully created. Set content to /typo3temp/index.html Directory /typo3temp/assets successfully created. Directory /typo3temp/assets/compressed successfully created. Directory /typo3temp/assets/css successfully created. Directory /typo3temp/assets/js successfully created. Directory /typo3temp/assets/images successfully created. Directory /typo3temp/assets/_processed_ successfully created. Directory /typo3temp/var successfully created. File /typo3temp/var/.htaccess successfully created. Set content to /typo3temp/var/.htaccess Directory /typo3temp/var/charset successfully created. Directory /typo3temp/var/cache successfully created. Directory /typo3temp/var/lock successfully created. Directory /typo3conf successfully created. Fixed permission on /typo3conf. Directory /typo3conf/ext successfully created. Directory /typo3conf/l10n successfully created. Directory /fileadmin successfully created. Fixed permission on /fileadmin. Directory /fileadmin/_temp_ successfully created. File /fileadmin/_temp_/.htaccess successfully created. Set content to /fileadmin/_temp_/.htaccess File /fileadmin/_temp_/index.html successfully created. Set content to /fileadmin/_temp_/index.html Directory /fileadmin/user_upload successfully created. Directory /fileadmin/user_upload/_temp_ successfully created. File /fileadmin/user_upload/_temp_/index.html successfully created. Set content to /fileadmin/user_upload/_temp_/index.html Directory /fileadmin/user_upload/_temp_/importexport successfully created. File /fileadmin/user_upload/_temp_/importexport/.htaccess successfully created. Set content to /fileadmin/user_upload/_temp_/importexport/.htaccess File /fileadmin/user_upload/_temp_/importexport/index.html successfully created. Set content to /fileadmin/user_upload/_temp_/importexport/index.html File /fileadmin/user_upload/index.html successfully created. Set content to /fileadmin/user_upload/index.html > typo3cms install:generatepackagestates The following extensions have been added to the generated PackageStates.php file: core, scheduler, extbase, fluid, frontend, fluid_styled_content, install, reports, setup, rte_ckeditor, about, adminpanel, backend, belog, beuser, extensionmanager, felogin, filelist, form, impexp, info, recordlist, redirects, seo, sys_note, t3editor, tstemplate, viewpageInsofern zu diesen Zeitpunkt noch nicht geschehen, setzen Sie nun das DocumentRoot der Domain, welches auf Ihre TYPO3 Installation verweisen soll auf mytypo3/public, diese Änderung tätigen Sie in der Verwaltungsoberfläche Ihres Webspacepaktes (Domain im Beispiel: http://www.ihre-domain-hier.de/)
TYPO3 Install-Tool
Unter dem Install-Tool wird der webbasierte Teil der TYPO3 Installation verstanden. Alle Informationen, welche nicht in Bezug mit der TYPO3 Dateibasis stehen, werden damit abgefragt und es können weitere Einstellungen getroffen werden.
Legen Sie zunächst die folgende Datei innerhalb mytypo3/public an, um das Install-Tool Ihrer TYPO3 Installation zu aktivieren
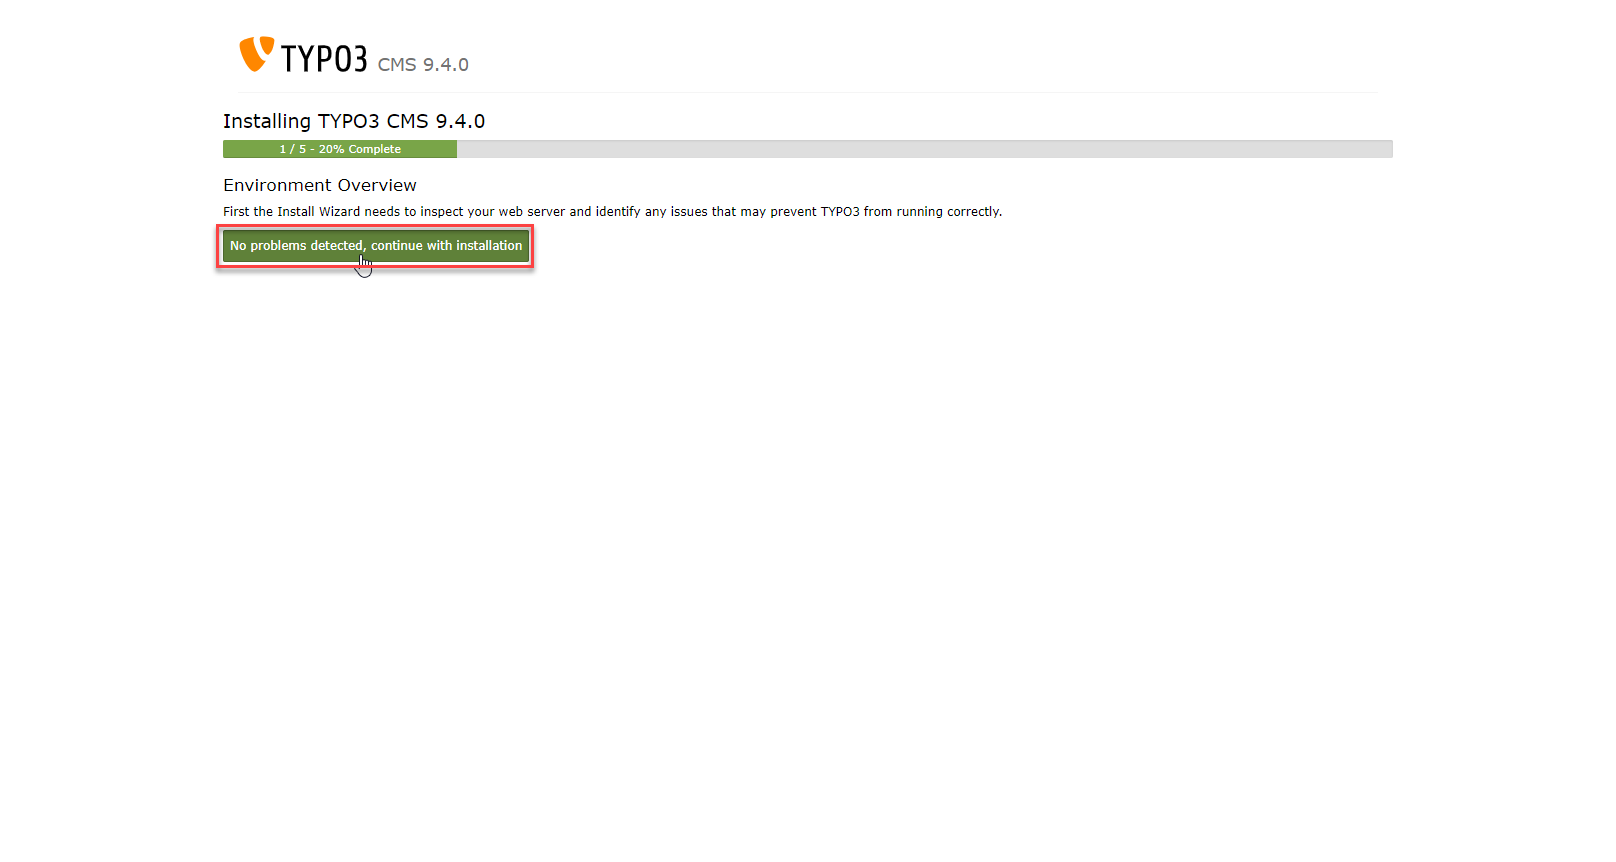
CODEtouch FIRST_INSTALLRufen Sie das Install-Tool in Ihrem Browser auf (Bsp.: http://www.ihre-domain-hier.de/)
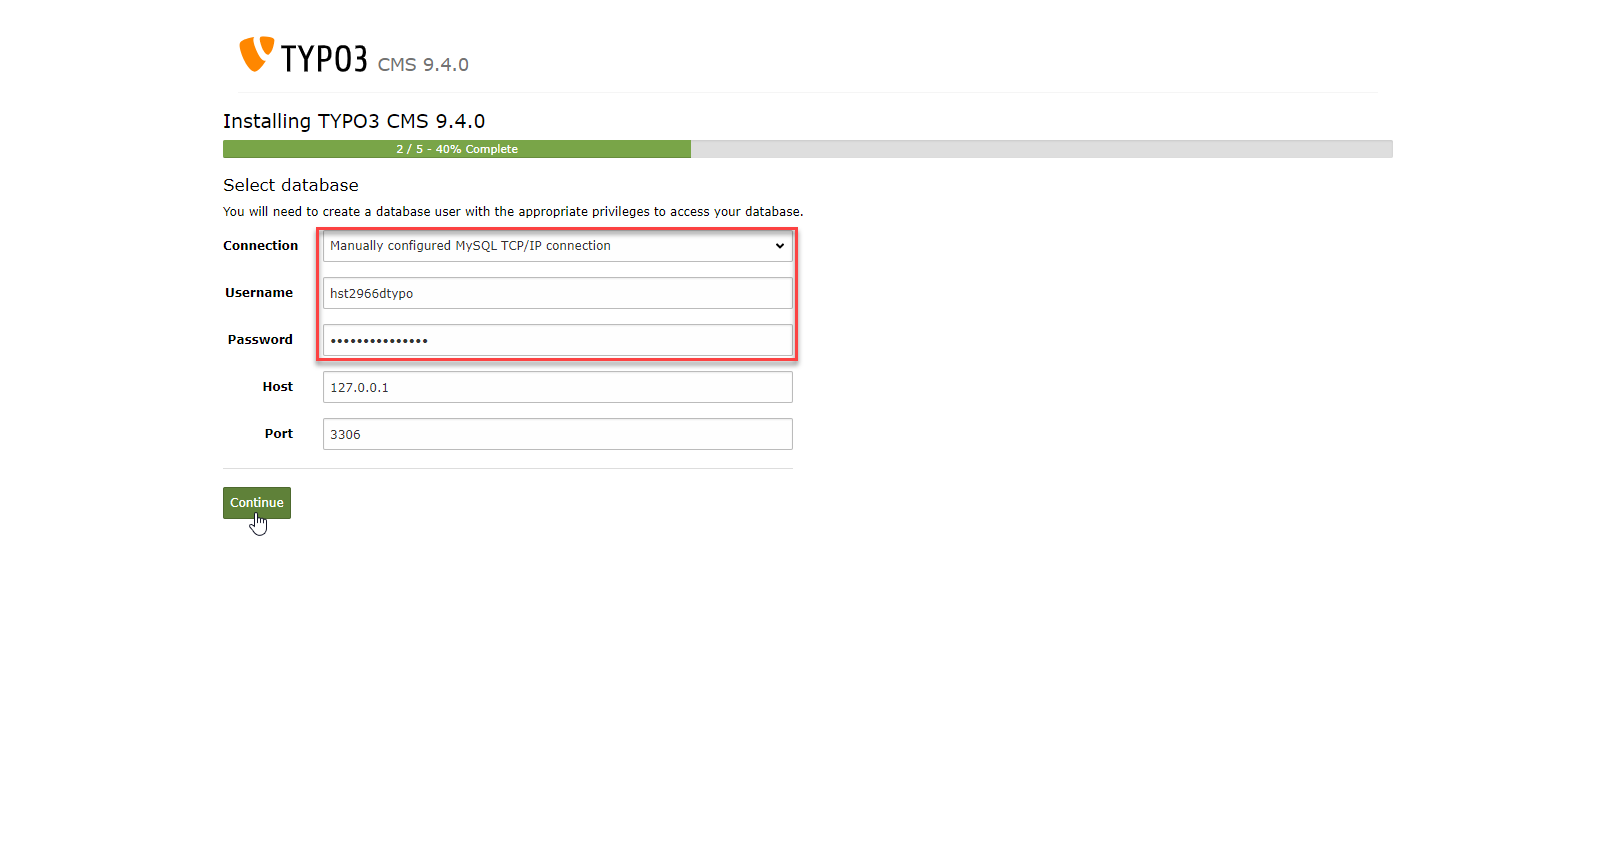
- Tragen Sie den Datenbanknutzernamen und das dazugehörige Datenbankpasswort ein
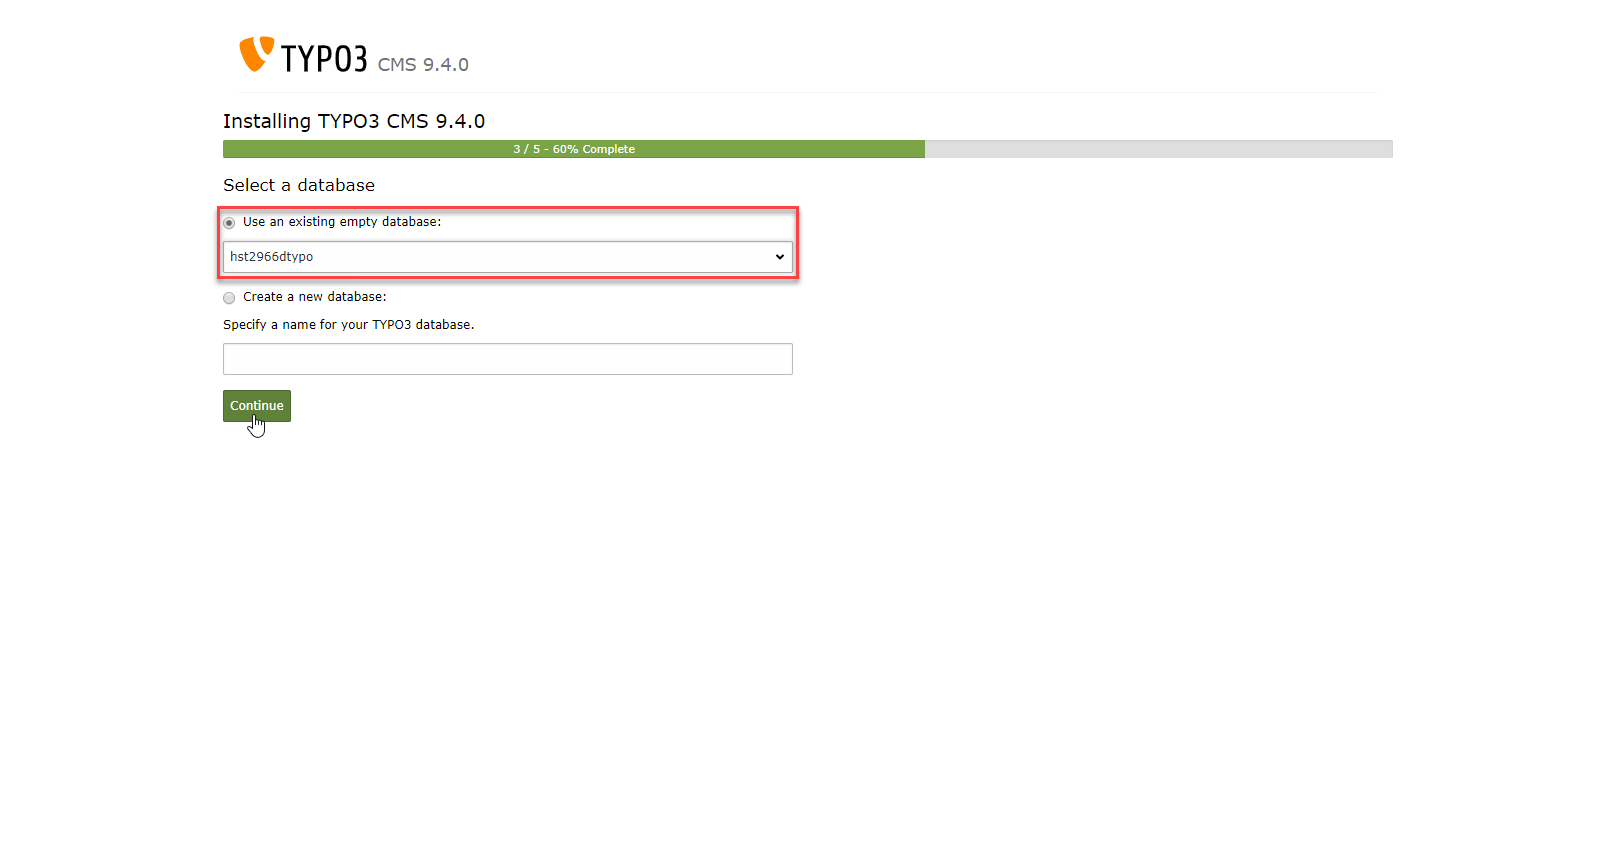
- Wählen Sie im nächsten Schritt die zuvor angelegte Datenbank aus
- Weiterhin wird nun der administrative Benutzer und das Passwort für die TYPO3 gewählt sowie der Webseitenname vergeben
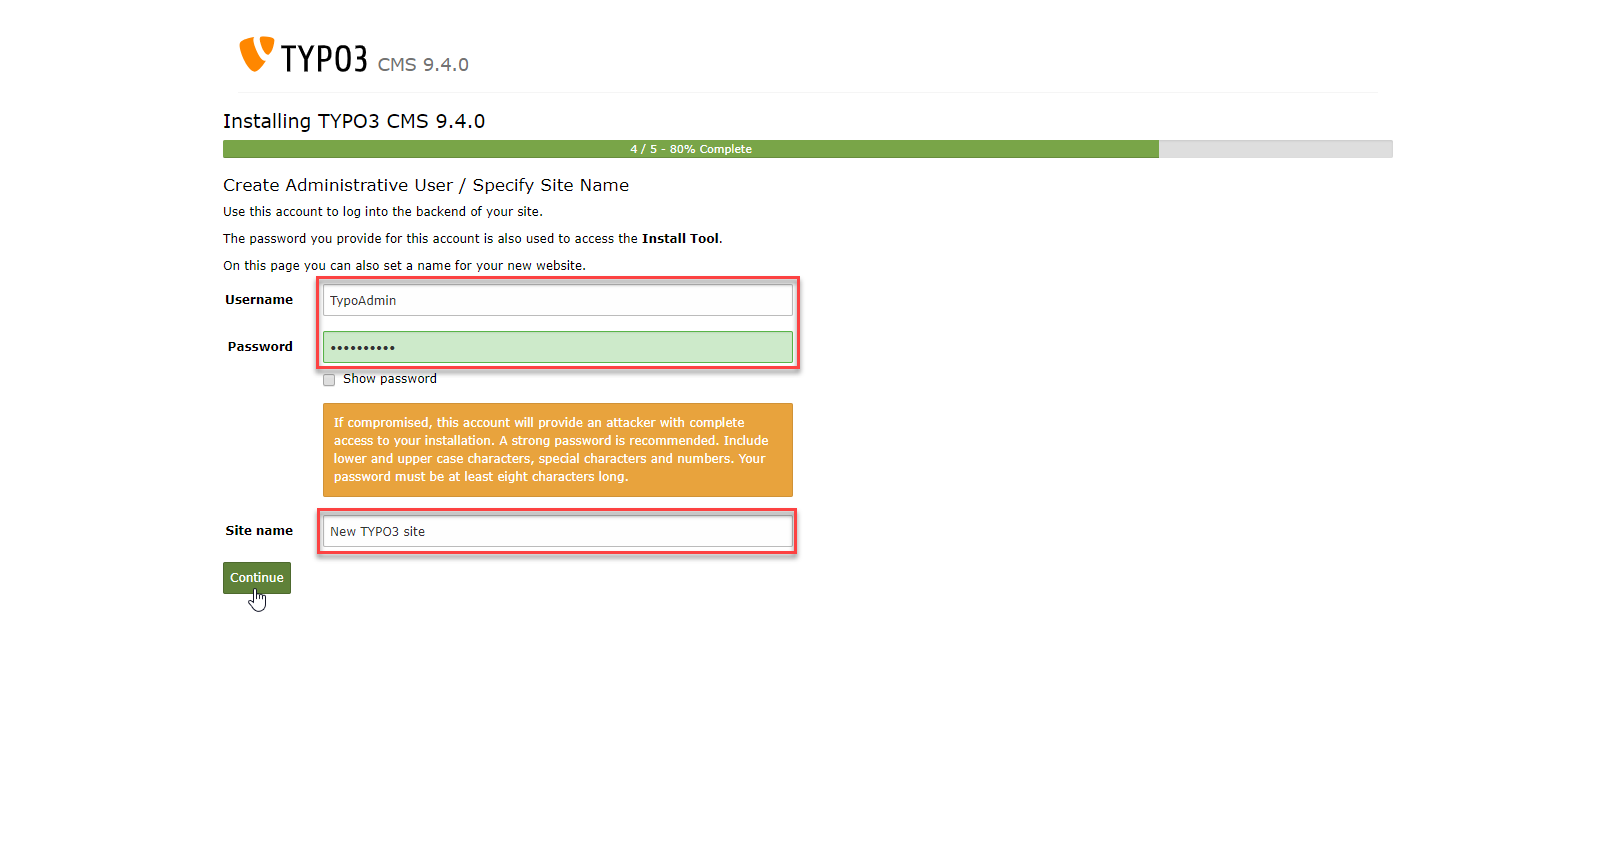
- Legen Sie fest, ob eine leere Seite mit angelegt werden soll
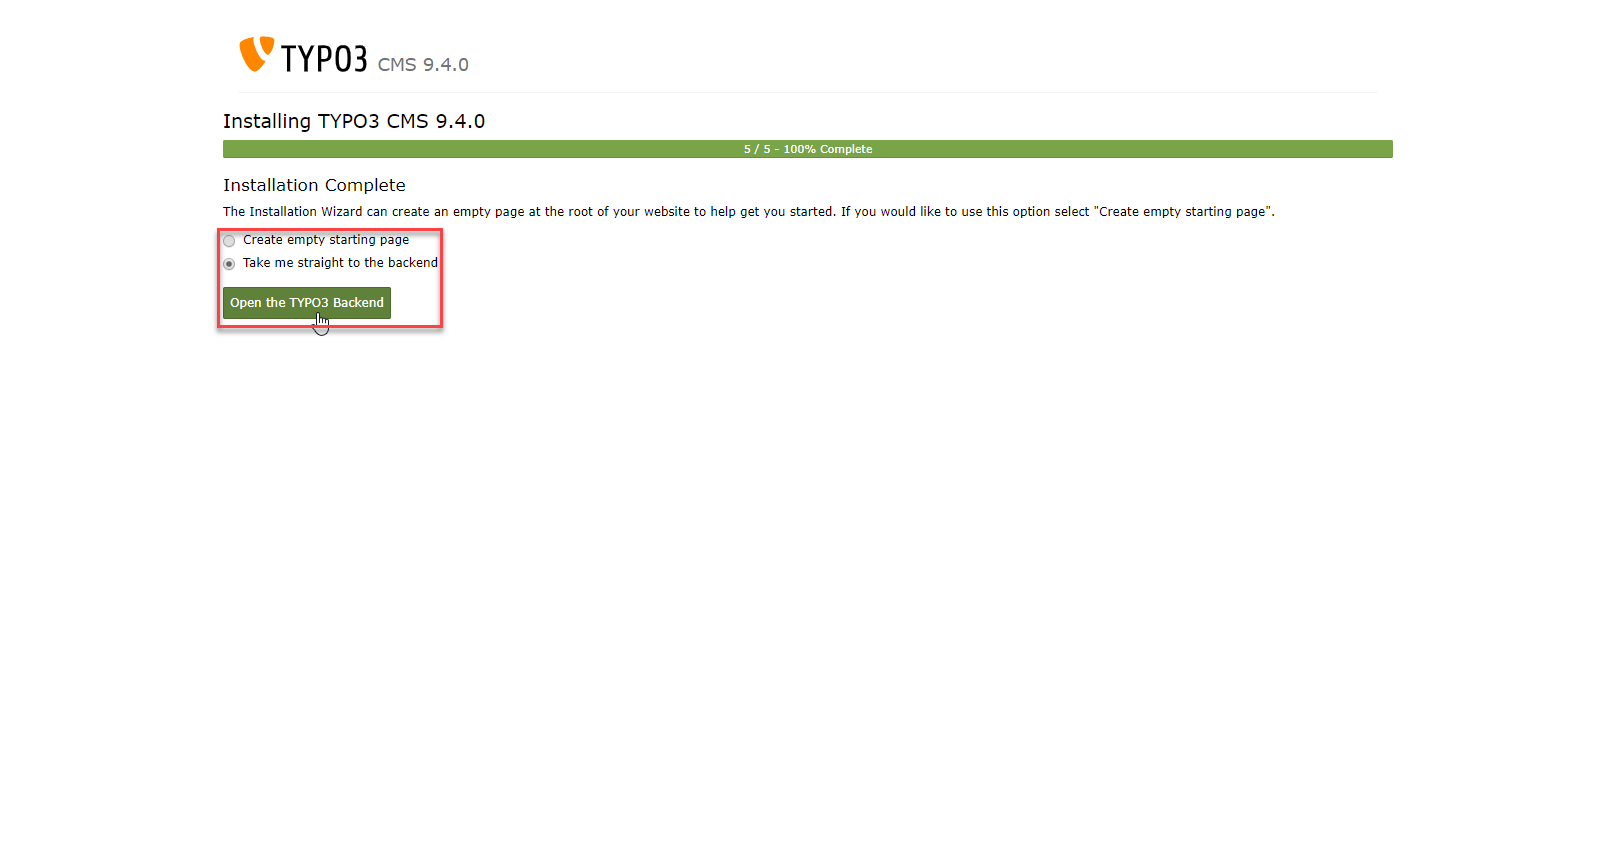
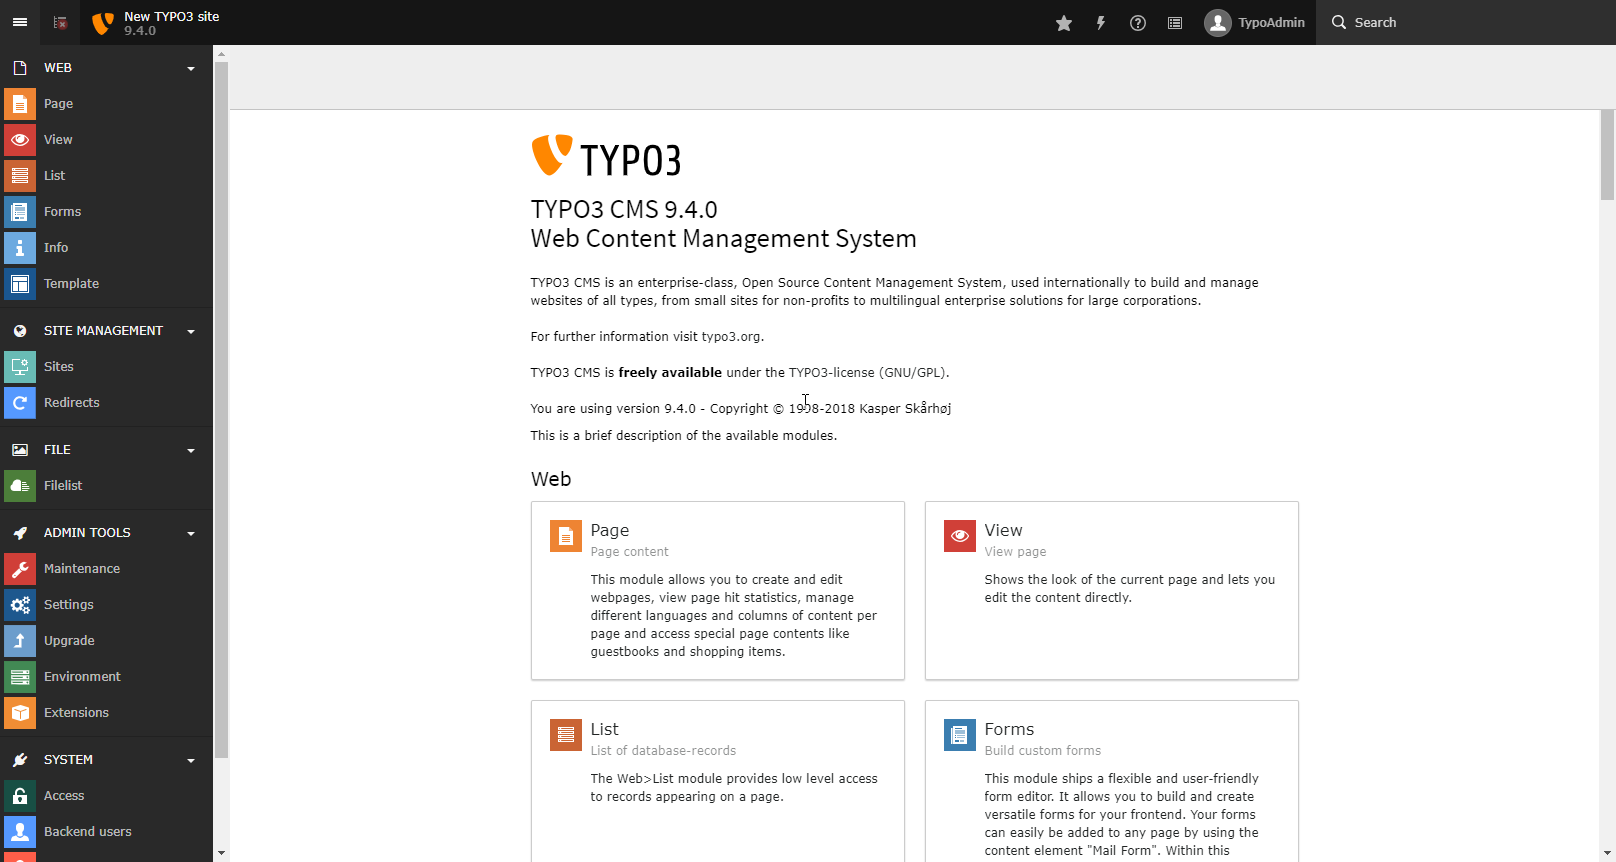
- Melden Sie sich mit dem unter Schritt 5 gewählten Adminbenutzer am TYPO3 Backend an
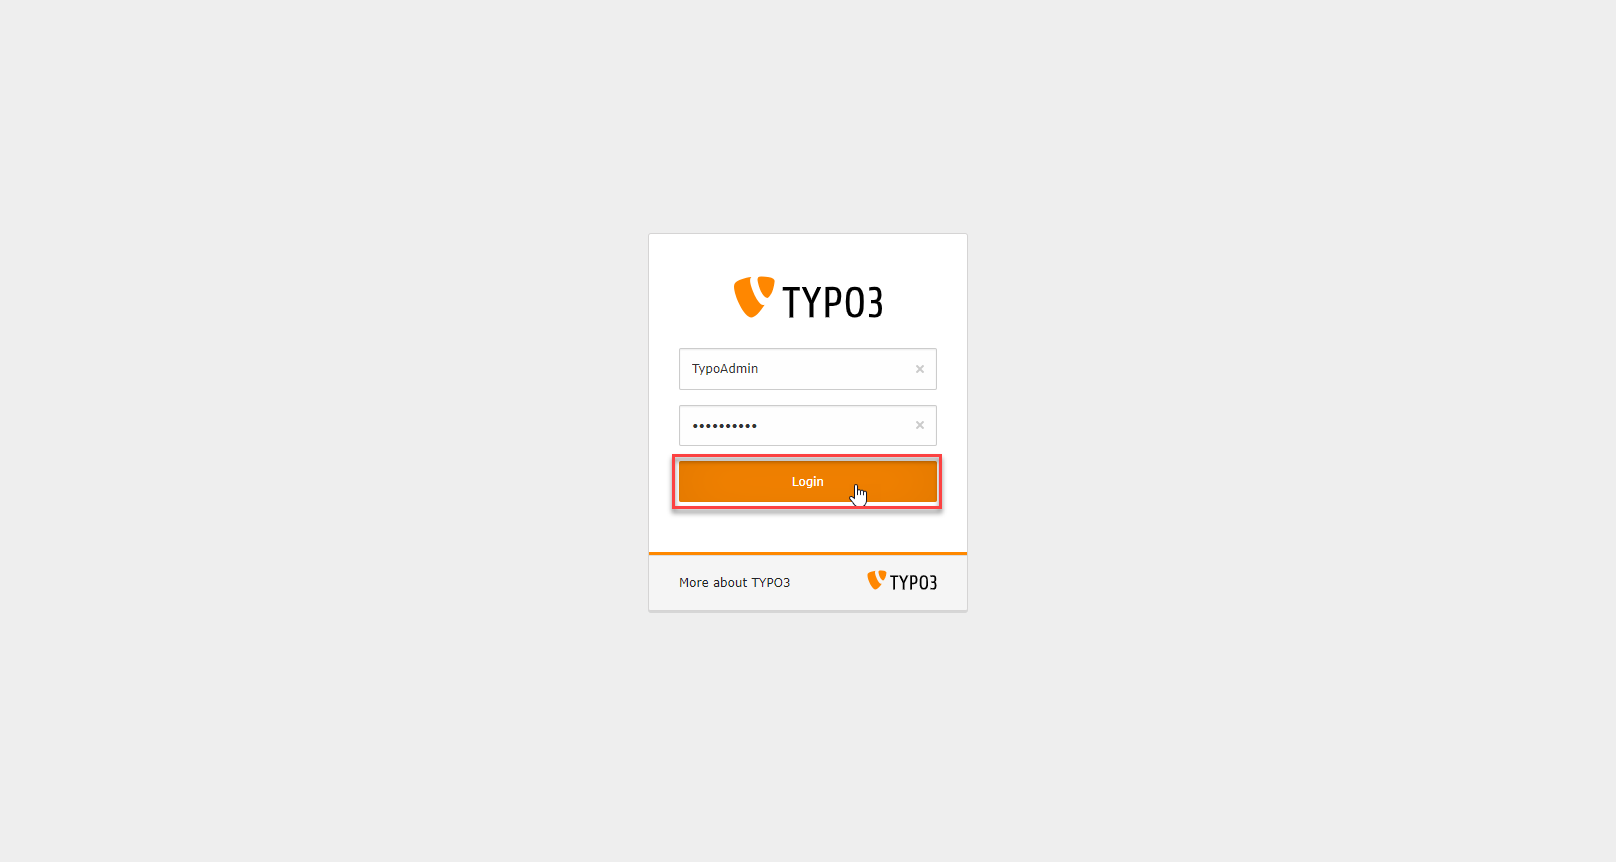
- In diesem Zuge ist die Grundinstallation Ihres TYPO3 abgeschlossen